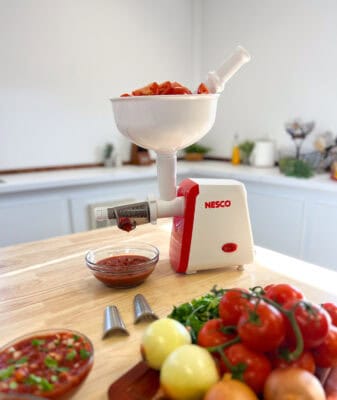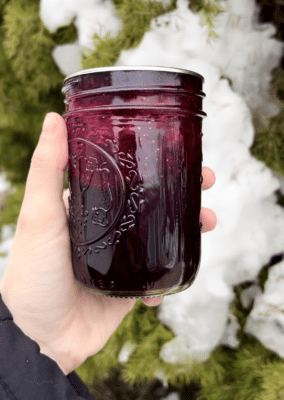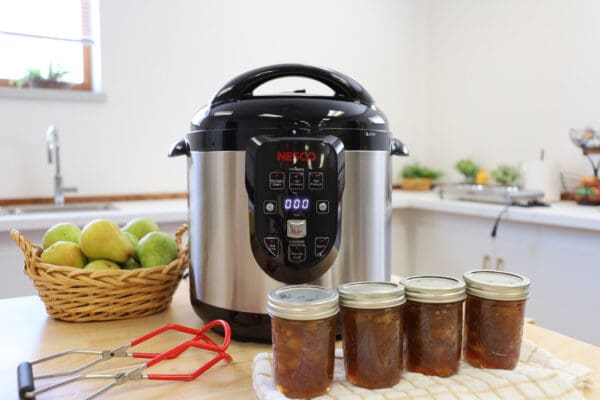
Canning pear jam is simple and hands-free with the Nesco Digital Smart Canner. Precise temperature control delivers safe, perfectly sealed jars every time.
Your Key Ingredient:
Grocery Ingredients:
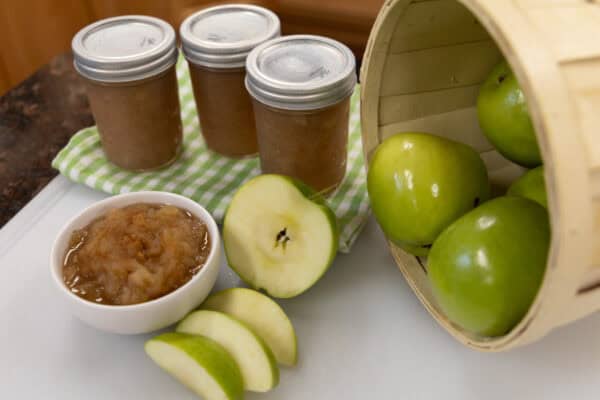
- 4 1/2 cups mashed ripe pears
- 1/4 cup lemon juice
- 3 tbsp. fruit pectin
- 1 tsp. ground cinnamon
- 1/2 tsp. ground cloves
- 1/2 tsp. ground allspice
- 1/2 tsp. ground nutmeg
- 3 1/2 cups sugar
- 1 tsp. butter
Directions:
- Mix mashed pears, lemon juice, fruit pectin, cinnamon, all spice, and nutmeg in a large pot; bring to a boil, stirring constantly.
- Add sugar all at once, stirring, and bring back to a full rolling boil.
- Boil for 1 minute. Mix in butter to settle foam
- Sterilize the jars and lids in boiling water for at least 5 minutes.
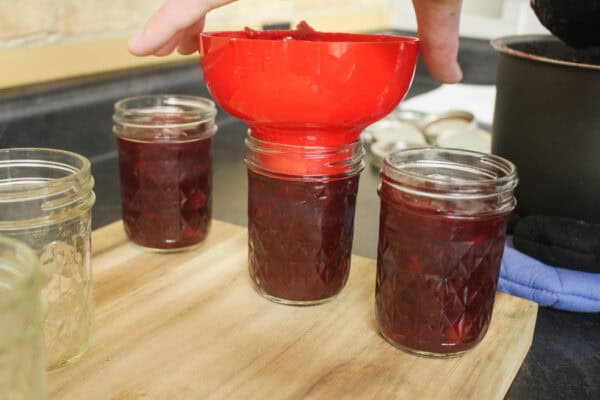
- Pack the pear jam into the hot, sterilized jars.
- Leave about 1/4 to 1/2 inch headspace. Remove air bubbles and wipe jar rims.
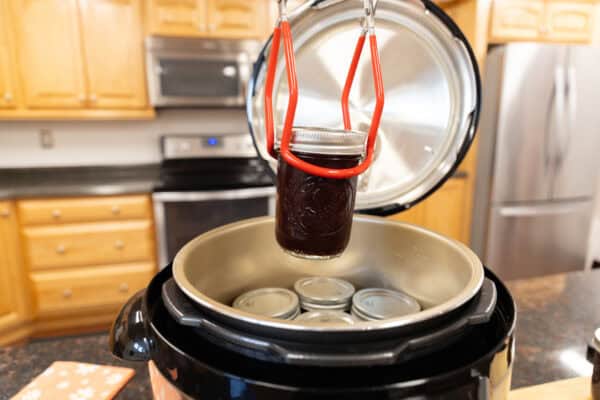
- Place liner pot in canner.
- Place canning rack in bottom of the liner pot.
- In water bath setting the jars must be completely covered with water that’s at least 2 inches above the top of the jars.
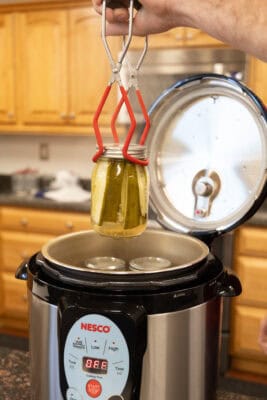
- Press WB/Steam button on the control panel.
- Press the TIME (+) to set time for 10 minutes.
- Make sure the Pressure Limiting Valve is set to Exhaust.
- Press Start button (DO NOT press Pressure Cook)
- Digital chase will begin to rotate, unit should begin to boil within 15-25 minutes. You will see a constant stream of steam coming from the Pressure Exhaust Valve when boil has been reached.
- Press Start again when the constant stream of steam is seen, the timer will automatically start.
CAUTION: DO NOT hit start a 3rd time. This will result in the unit shutting down completely.
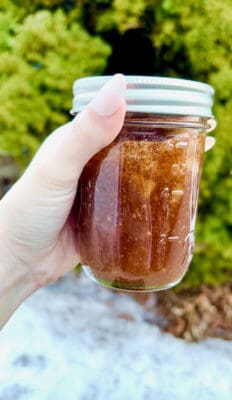
When WB function is complete: Let unit rest for 20-30 minutes before turning the lid to the open position. Carefully remove jars from the Canner. The lids will pop as they seal and cool down. Cover the jars with a towel and do not touch for 24-48 hours.