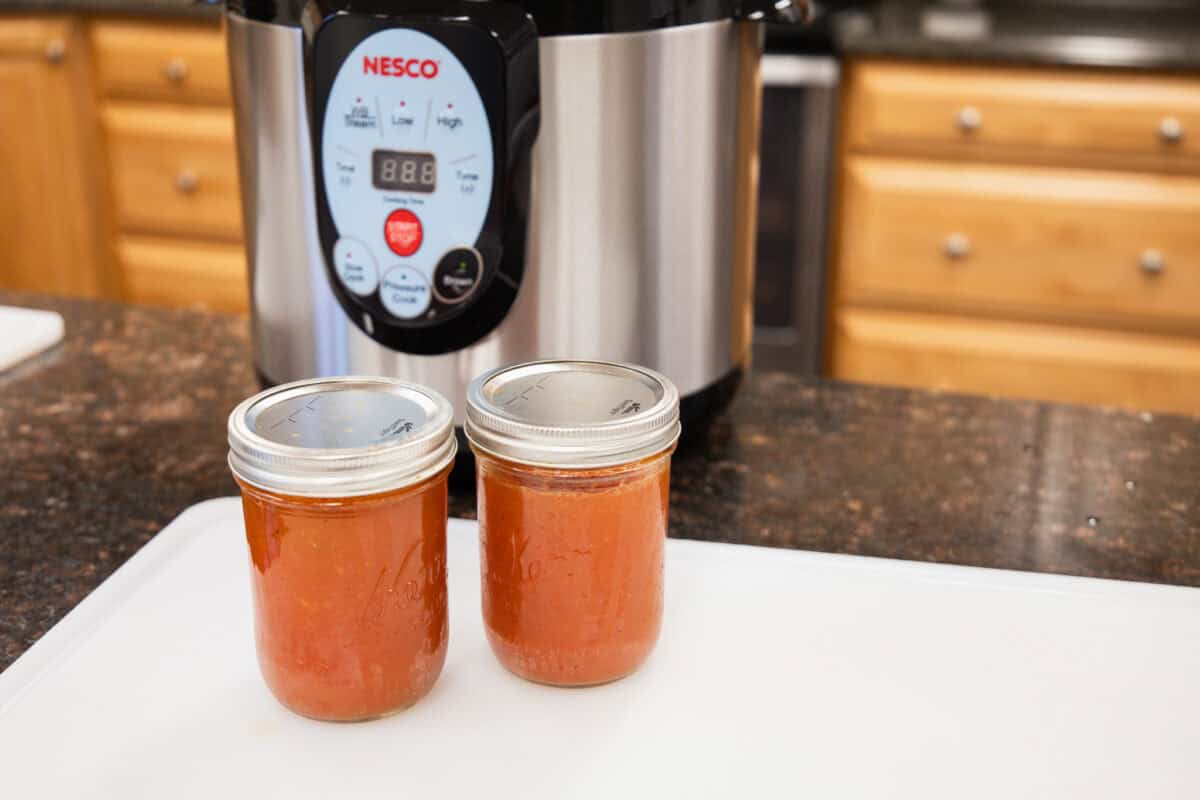
Your Key Ingredient to Food Preservation:
Ingredients:
- 3 pounds of ripe garden tomatoes: cored and roughly chopped
- 1 1/4 cups of celery: chopped, including the leaves
- 1/3 cup of onion: chopped
- 2 tablespoons of sugar: adjust to taste
- 1 teaspoon of salt
- A pinch of black pepper
- 6 to 8 drops of hot sauce: or adjust to your taste preferences
Instructions:
1. Prepare the Ingredients
- Tomatoes: Core and roughly chop the ripe garden tomatoes.
- Celery: Chop the celery, including the leaves, into small pieces.
- Onion: Finely chop the onion.
2. Cook the Tomatoes, Vegetables, and Seasonings:
- Combine Ingredients
Place the tomatoes, celery, onion, sugar, salt, black pepper, and hot sauce into a pot on stove. - Simmer
Cook the mixture uncovered for about 25 minutes, stirring occasionally until it becomes completely soupy.
3. Strain the Mixture Using NESCO Electric Food Strainer
- Transfer to Strainer
Pour the cooked mixture into the NESCO Electric Food Strainer. - Strain
Use the electric food strainer to efficiently separate the seeds and skins from the sauce, resulting in a smooth and rich tomato sauce. Follow the manufacturer’s instructions for optimal results. - Cool
Allow the strained sauce to cool slightly before proceeding to the canning process.
5. Filling the Jars
- Fill Jars
Using a canning funnel, ladle the cooled tomato sauce into the sterilized jars, leaving about 1/2 inch of headspace at the top. - Remove Air Bubbles
Run a non-metallic spatula around the inside of each jar to release any trapped air bubbles. - Seal Jars
Wipe the rims of the jars with a clean, damp cloth to remove any residue. Place the lids on top and screw on the bands until finger-tight.
5. Process in NESCO Smart Canner:
- Place the filled jars into the NESCO Smart Canner.
- Place liner pot in canner.
-
- Press Time + and enter 20 minutes.
- Set pressure limiting valve to Exhaust (regulator will be in a raised position)
- Press Start to begin the process.
- Control Panel LED display lights will rotate clockwise and can continue for up to 30 minutes.
A. Steam will begin venting
B. Once proper internal temperature is reached unit will beep and the display will read E10. The countdown has begin.
C. When it reaches E10, the canner will beep again.
Note: Unit may bypass the E10 countdown if proper temperature has been reached. - Switch the Pressure Limiting Valve to Airtight. The canner will beep again and may continue to beep as it resumes it process to reach proper pressure.
- Process time will start to count down. Your canner will release steam even though the Pressure Limiting Valve is set to Airtight, this is NORMAL and No REASON FOR ALARM . Once the process is complete, the canner will beep three times and then will read OFF.
- Unplug the canner and allow the temperature and pressure inside the canner to gradually decrease (60-90 minutes). Do not manually release the pressure As this will cause siphoning of the jars.
7. Cool and Store
- Remove the jars from the canner and let them cool on a towel or cooling rack for 12-24 hours.
- Check the seals. The lids should not flex up and down when pressed.
CAUTION: DO NOT hit start a third time. This will result in the unit shutting down completely.
Note: If you see an ERR or EEE code displayed on your Control Panel at any time an error has occurred. If this occurs, reprocess high acid ingredients, or treat as open and eat immediately. For low acid foods, reprocess the ingredients or discard immediately.


